
Das bin ich Poster Project
Project Overview
|
1

Create your Poster in PicCollage
Due Wed. November 4. |
2
Add images then record your poster presentation into the App
|
3
Export your completed video to Photos
|
4

Submit your Video to Schoology
|
1) Create your Poster Image
**All visuals must be created and added to your Explain Everything project PRIOR to recording the audio
|
Create your Poster Image in PicCollage
Your poster should:
Save Your Poster Image to Your Photos
Choose "Save to Library" to save the image to your Photos (aka Camera Roll).
|
2) Add Poster Image and Record in Explain Everything
**All visuals must be created and added to your Explain Everything project PRIOR to recording the audio**
|
|
Create a new Explain Everything
1. If you have not already done so, create a new Explain Everything from a blank canvas.
2. Rename your project as "Your name - Poster" by tapping on "Whiteboard" then choose "Quick Save" 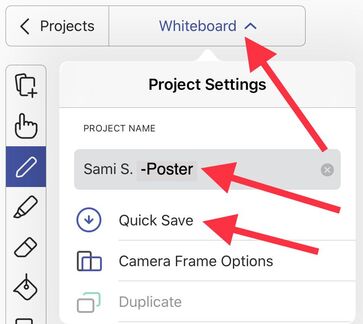
3. "Quick Save" OFTEN!
Add Poster Image
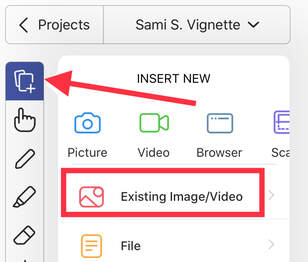
1. Tap on the + icon, then choose "Existing Image/Video." Locate your images from your Camera Roll/ Photos to then add them to your project.
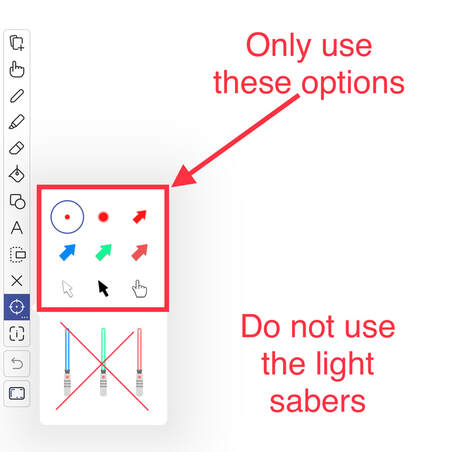
3. Select a SILENT laser pointer.
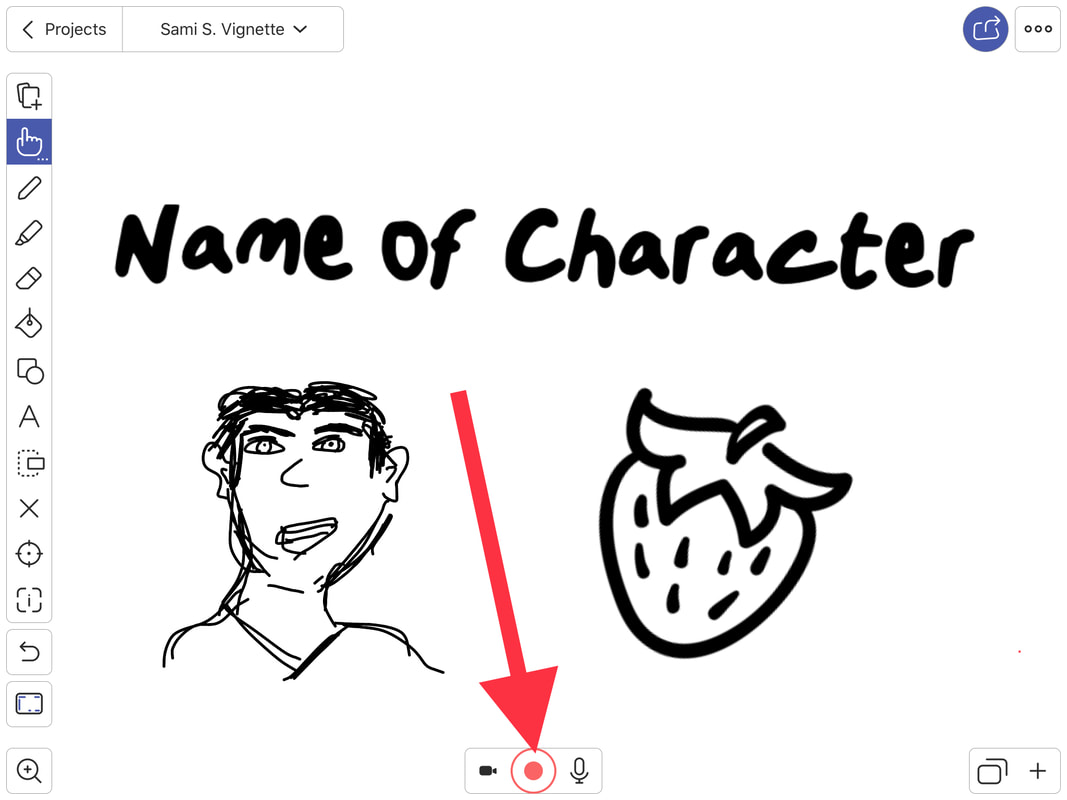
Record Audio for Your Poster
DO NOT RECORD YOUR AUDIO UNTIL YOU HAVE ADDED THE IMAGE OF YOUR POSTER!
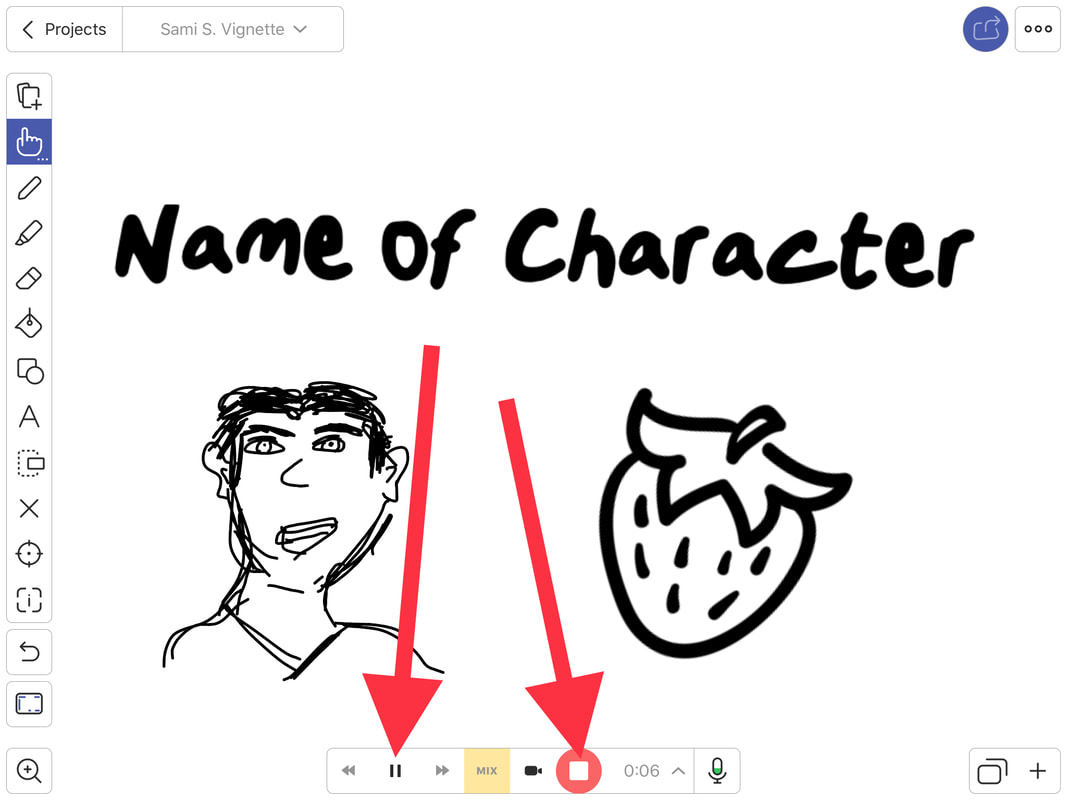
1. Tap on the red record button to start your audio recording. You can utilize the pause button to record your poster in sections, but it is best to try to record it all in one shot. When you are done, tap on the stop button.
2. While recording, point to the different things on your poster using the SILENT laser pointer.
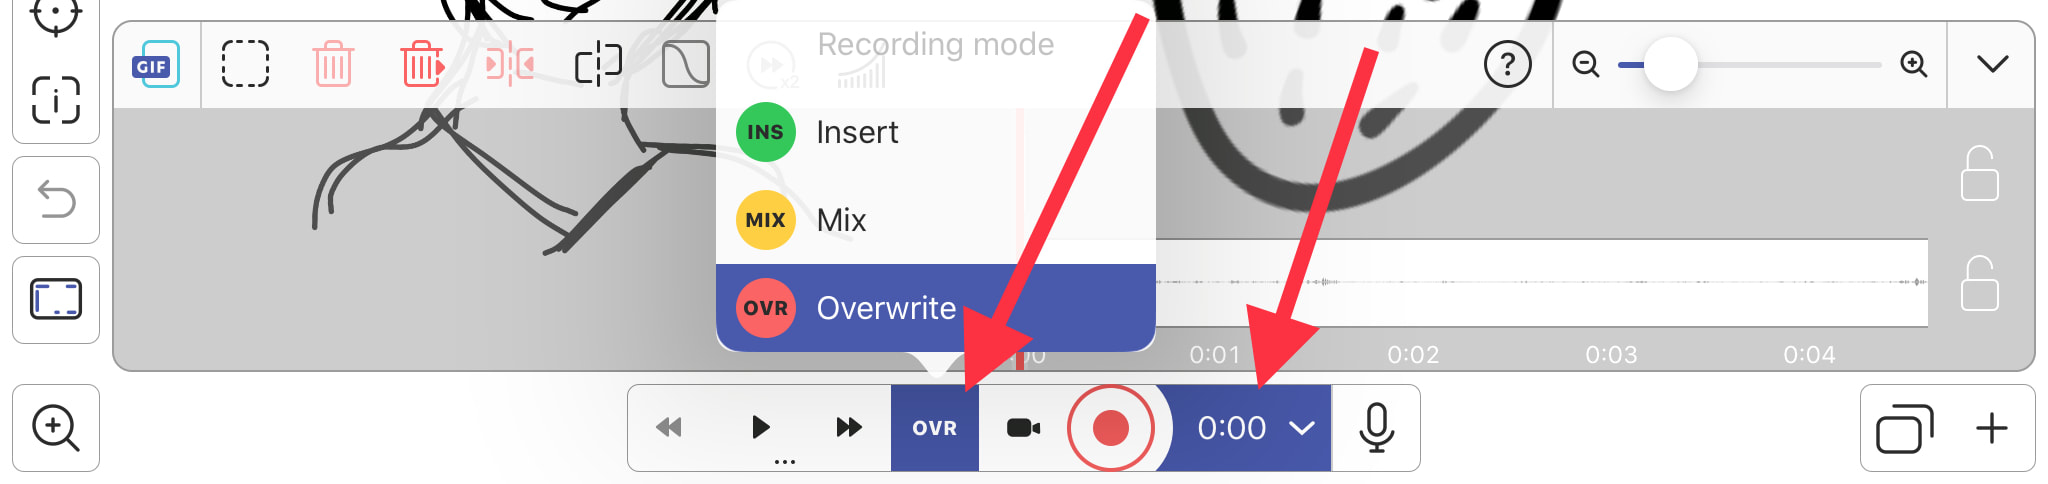
3. There are some more advanced editing features such as overwriting your recording or editing out sections of it by splitting the clips. That you can access by tapping on the Timeline.
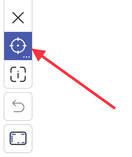
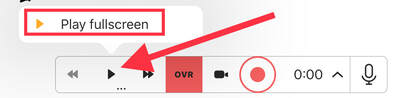
When all else fails, tap on the timeline, move the playhead so that the time reads 0:00. Make sure it's set to "Overwrite" and then choose the record button. This will re-record over your previous recording.
|

Export Your completed project to Photos

|
Review your Recording
1. Hold down the play button until you see the "Play fullscreen" option. This is how you preview your video! If everything looks/sounds good from start to finish, you are ready to export your project.
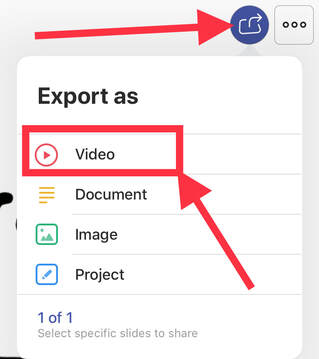
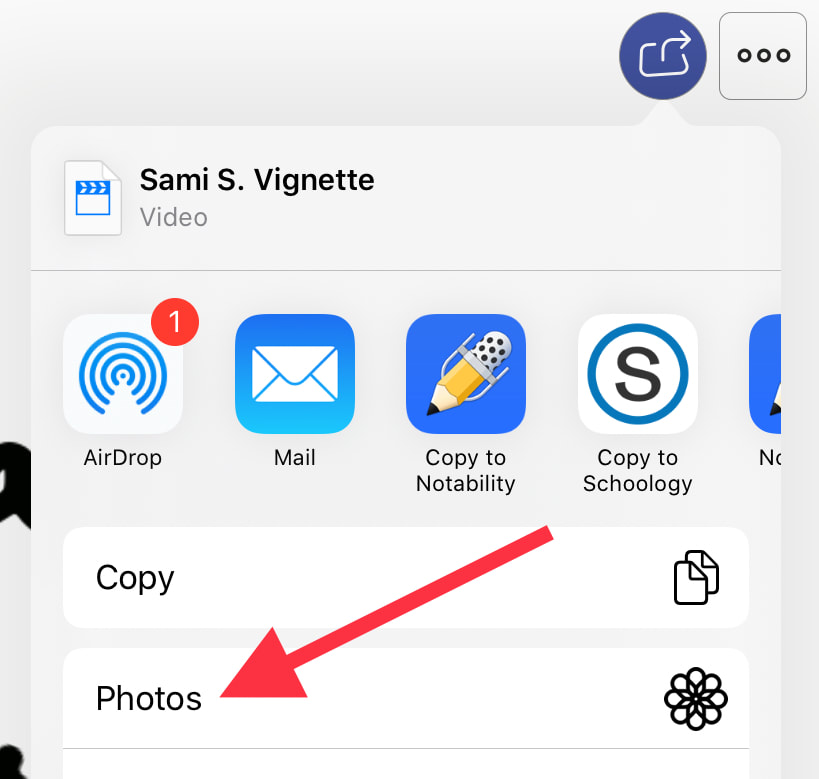
Export the Video
1. Tap on the share button in the top-right corner, then select "Video," then choose "Photos."
2. The video will then processed and then be saved to your Photos.

|
Submit your Video to a Schoology Assignment or Discussion

|
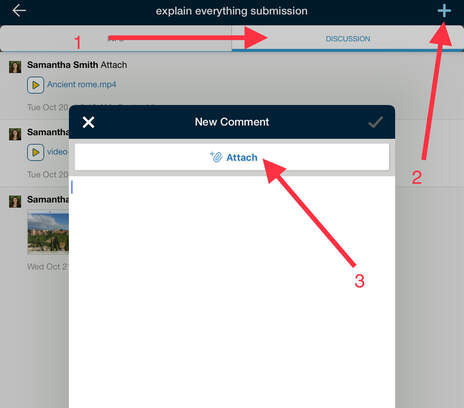
Submitting to a Discussion
1. Open Schoology and find the discussion you wish to submit your video to.
2. Tap on the Discussion tab, then tap the "+" then choose "Attach."
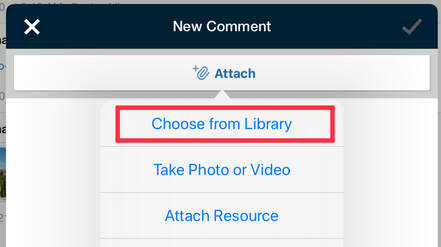
3. Select "Choose from Library"
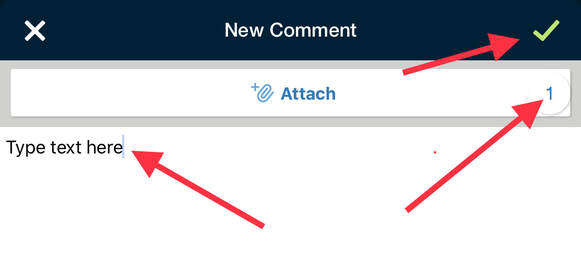
4. Select your video, then tap "Done". Then tap on the green checkmark in the top-right corner.
5. Confirm your video is attached, type text in the comment box, and then click on the green checkmark.
Submitting to an Assignment
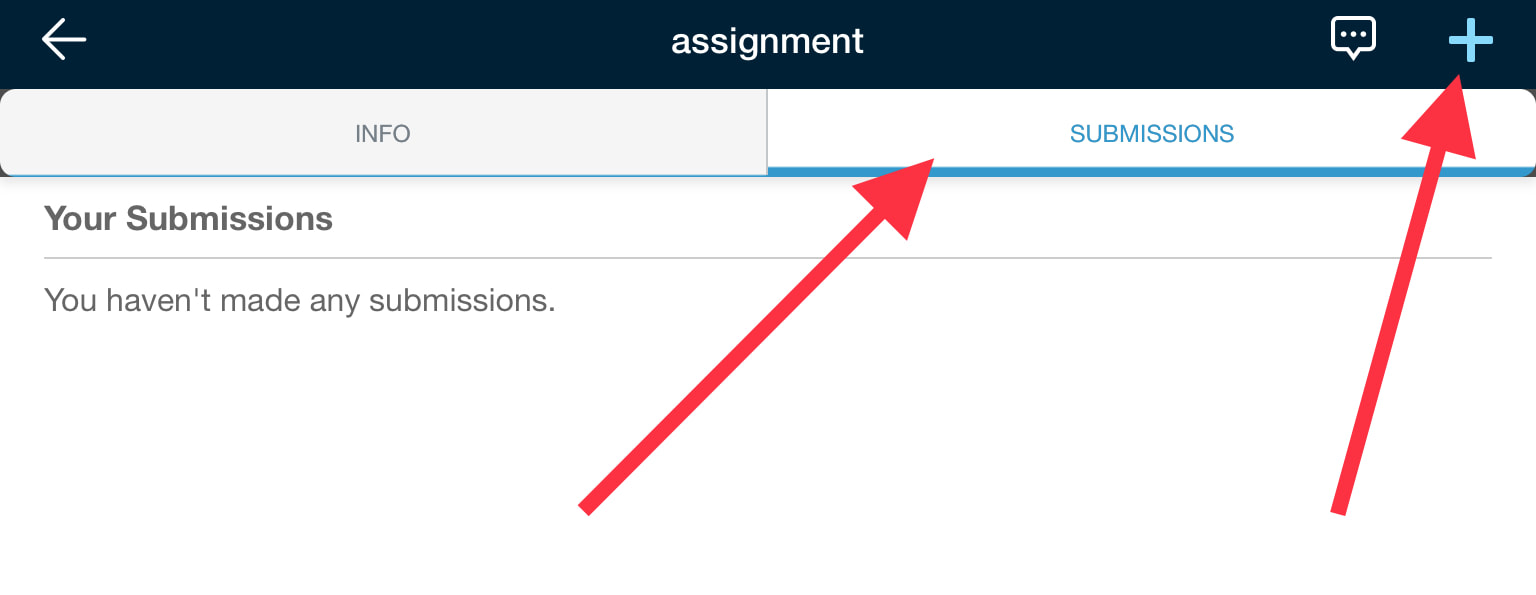
1. Open Schoology and find the assignment you wish to submit your video to.
2. Tap on the submissions tab, then tap on the "+"
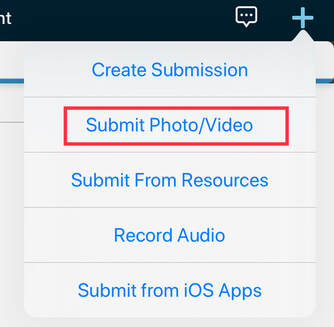
3. Choose "Submit Photo/Video"
4. Select your video, then tap "Done". Then tap on the green checkmark in the top-right corner.

5. Tap the Green checkmark again until you get notification of your submission.
|
