

Mapping Categories in Schoology
Schoology grades will NOT sync with PowerTeacher Pro until you set up your category configuration. You must first have categories entered in Schoology for your each course prior to configuring your categories.
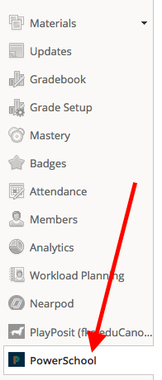
1. When logged into Schoology, click on "PowerSchool" on the left sidebar. If you get an error message make sure you are signed into PowerSchool as well before clicking the button.
|
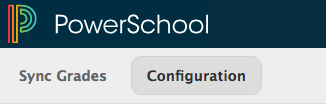
2. Click on the "Configuration" tab that appears at toward the top of the screen.
|
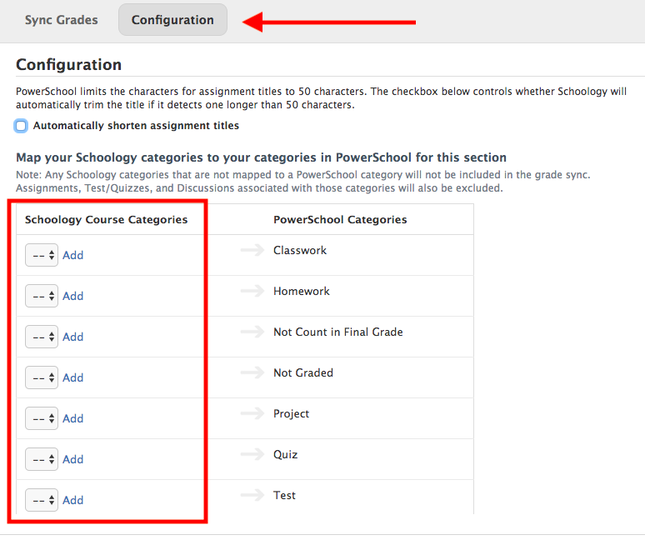
3. Decide which PowerSchool categories you want your Schoology categories to sync to. You can map your Schoology categories to any of the categories you have previously created in PowerSchool. DON'T FORGET to tap the save button.
|
Schoology Sync to Powerschool
Just like all grades don't forget to double check that your Schoology grades have all synced properly to Powerschool. If they haven't, you can do a force sync. Also, Schoology has been updated where you can force sync in the Schoology Gradebook.
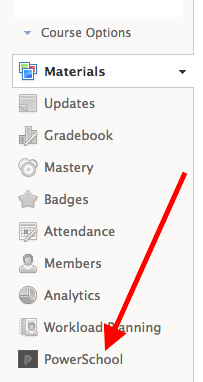
1. Open a course in Schoology. Click on PowerSchool on the left navigation menu.
2. If this is your first time using the PowerSchool link, you will have to approve or accept permission for Schoology to connect with your PowerSchool account.
2. If this is your first time using the PowerSchool link, you will have to approve or accept permission for Schoology to connect with your PowerSchool account.
|
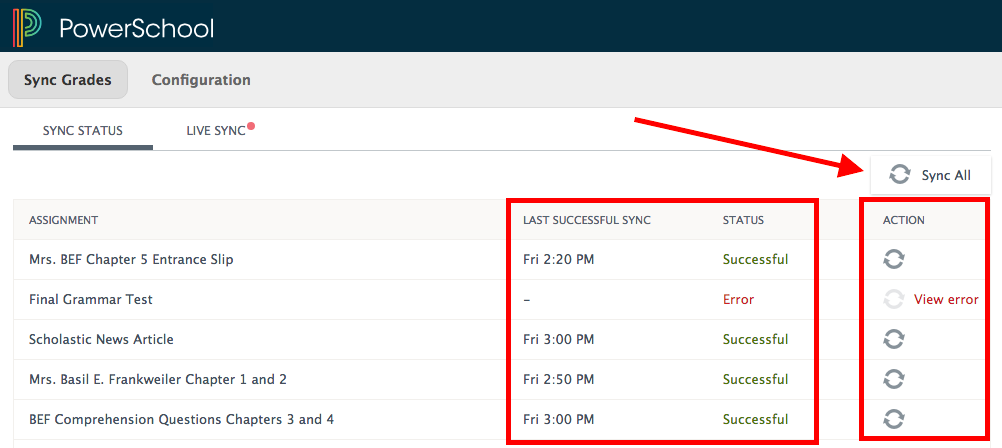
3. You will see a list of all graded work in Schoology along with the Last Sync Date and Time, and Status. You’ll see when items haven’t been synced at all! Click the "Sync All" button to resend all assignments to your PowerSchool Gradebook or you can individually sync assignments by clicking the sync button in the "Action" column.
|
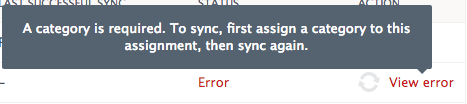
4. If you notice an error message next to an assignment you are trying to sync, hover your mouse over "View error" to see why it has not synced. Correct the error and try to sync the assignment again.
|
