Digital Self-Portraits
Create a Digital Self Portrait by digitally tracing over a picture of yourself. The directions below are to utilize the app Explain Everything (which has the eyedropper feature to select the exact color from your picture). This Project can also be done using other apps like Sketches School. If done properly, this will take 1-2 hours. Details matter.
Do the best you can! If directions for Explain Everything are too hard, use an app you know!
Do the best you can! If directions for Explain Everything are too hard, use an app you know!

|
|
Starting your Project
1. Be sure you have the most up-to-date version of Explain Everything. Go into Self-Service and reinstall the app to be sure.

2. Take a selfie or choose one you already have on your iPad.

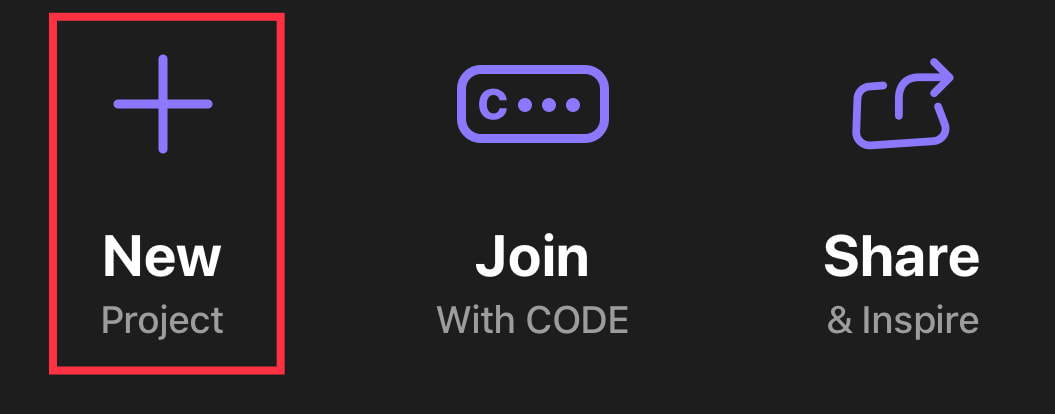
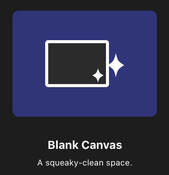
3. Open Explain Everything. Start a "New Project", then choose "Blank Canvas."
|
|
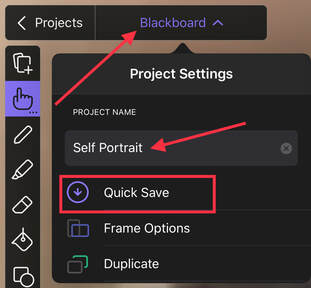
4. Tap on "Blackboard" and rename your project "Self Portrait" then tap "Quick Save". Continue to click on the "Quick Save" button throughout your project to ensure that it is saving properly.
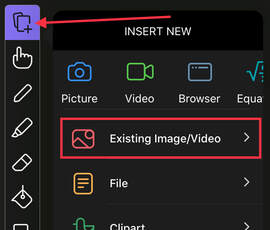
4. Add your picture (or take a new selfie) by tapping on the "Add" tool and selecting either "Existing Image/Video" (or "Picture")
5. Zoom in on your face, then tap "Done"
5. Zoom in on your face, then tap "Done"
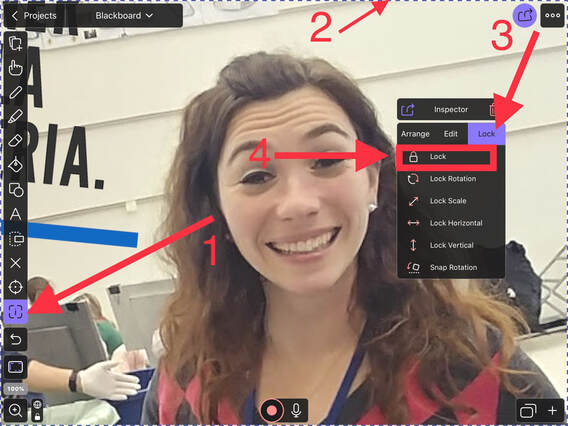
5. Lock the picture into place by selecting the "inspector" tool, tapping on the image and then tapping "Lock." Tap on the "move" tool to get out of the "inspector" tool options.
- 1) Tap the Inspector Tool
- 2) Tap anywhere on the picture to select. You will then see the dashed line on the outside of the picture.
- 3) Tap the Lock tab
- 4) Choose Lock
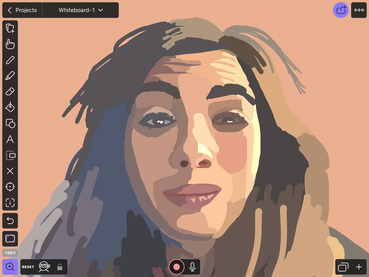
Draw over your SElfie
click the image to play the video
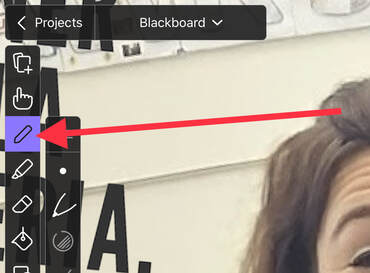
1. Select the draw tool.
2. Zoom in on an area of your face using your fingers (pinch to zoom).
3. Change the size of the draw size to the largest possible.
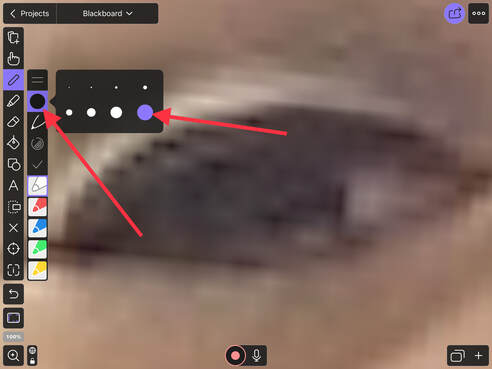
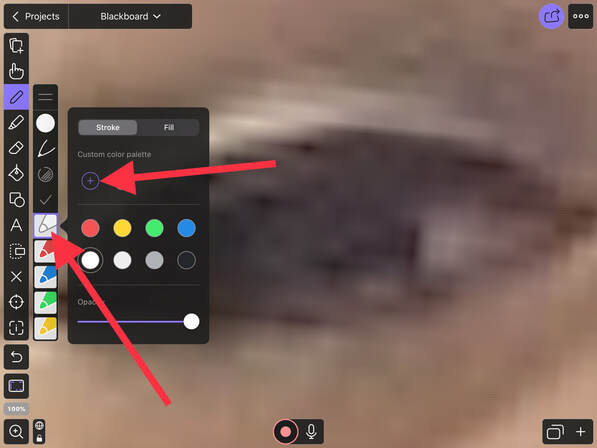
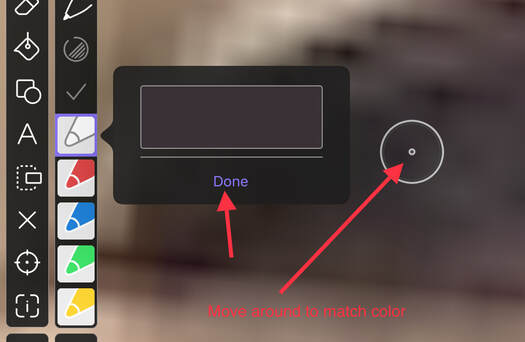
4. Tap on one of the colors then select the "+" to add a custom color.
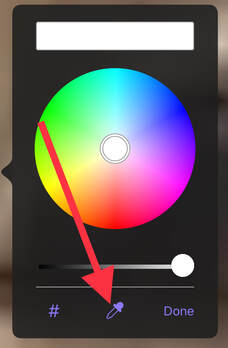
5. Choose the Eye Dropper tool. Then select a color from your face. Then tap "Done."
|
|
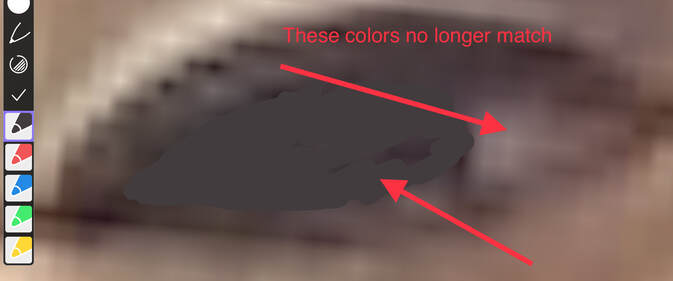
6. Color in the area until the color no longer matches well.
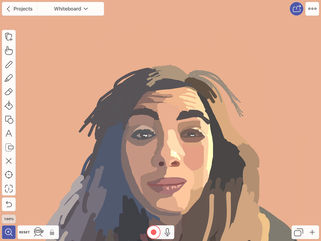
7. Repeat steps 2-6 to finish coloring in your face, neck and shirt. (Remember to include more detail on your eyes, nose, mouth, and ears.)

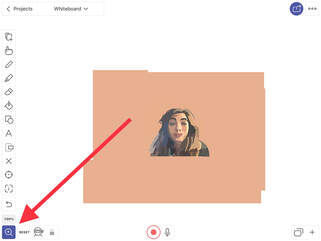
8. Choose a color you used on a LARGE PORTION of your face to color in the background of your picture.
Zooming in and out

If pinch to zoom glitches and part of your drawing is left behind, tap the Zoom tool first. (Located at the bottom left corner of the screen. )
Exporting and resizing your picture.
1. Use the Zoom tool to adjust your picture to fill the screen.
|
|
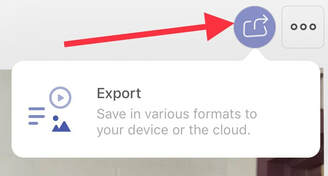
2. Tap the blue "Share" button in the top right corner and choose "export"
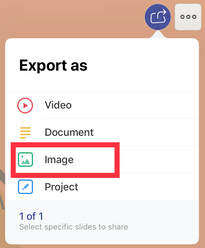
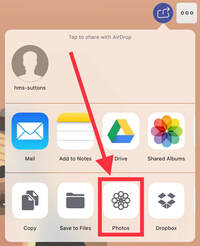
3. Select "Image" then choose "Photos".
|
|
4. Open photos and open your exported image. Then tap "Edit"

5. Select the crop tool.

6. Choose the square/rectangle icon on the bottom right corner of the screen and choose "Square". Move your face around the screen or zoom in as needed. DO NOT ADJUST THE BORDER.
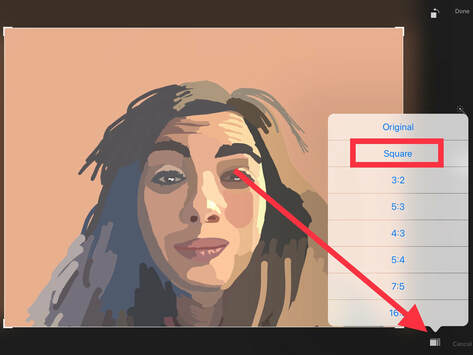
7. Tap Done in the top-right corner.
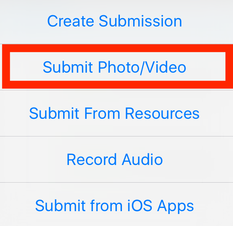
8. Open Schoology, find the art assignment and submit this photo.