


Creating a New Book
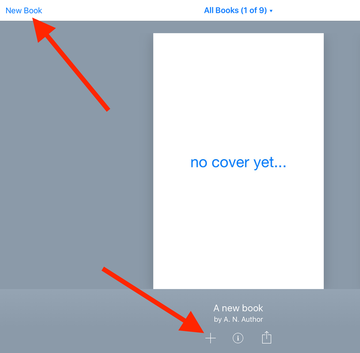
1. Tap on "New Book" in the top-left corner of the screen. Then choose one of the templates. If working in a group, make sure that you all choose the SAME template.
|
Adding Text, Photos, Videos, Audio, and Shapes
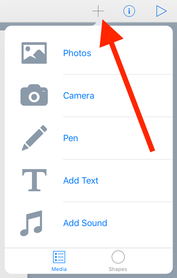
Tap on the "+" button in the top-right corner of the screen to add Photos (or videos) from your camera roll, take a picture with your Camera, draw using the Pen, Add Text, Add Sound or add Shapes.
|
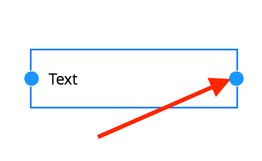
To resize the text box, photo, video, audio icon or shape, tap on the object to select it. Then hold your finger down on one of the blue dots and drag your finger to change the size.
|
Changing Text Style, Deleting Objects
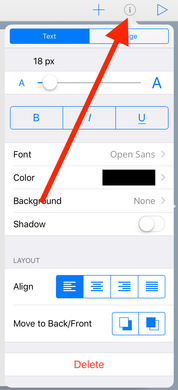
Make sure the item you want to edit is selected, click on the i button to change font, size, color, etc.

|
|
Submitting your Book to Schoology
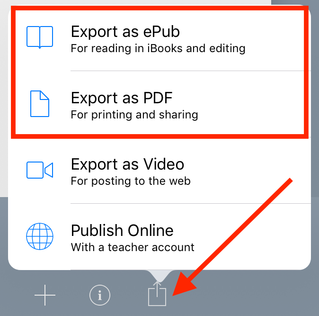
1. On the "My Books" screen, choose the share button. Then select PDF (if your book DOES NOT contain videos or audio) or ePub (if your book DOES contain videos or audio.)
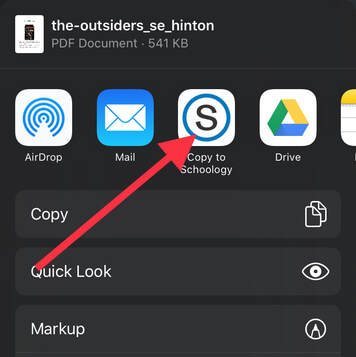
2. Select "Single pages" (If you selected PDF). Then choose "Import with Schoology".
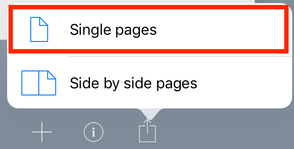
*Choose if you selected PDF*
|
|
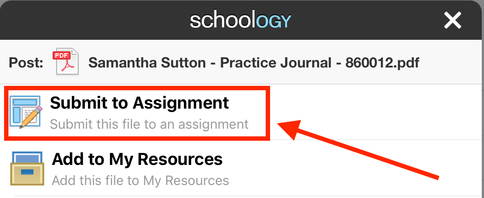
A: SUBMITTING To an assignment3A. Select "Submit to Assignment".
4A. Find the course and the assignment title you wish to submit to. Then tap "Upload".
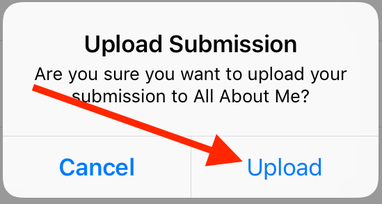
5A. You will then get a confirmation that you have submitted your assignment.

|
B: SUBMITTING to a discussion3B. If submitting to a discussion. You will need to save your document to your resources.
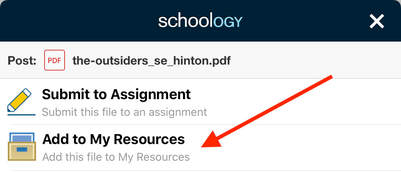
4B. Then choose "Home" then "Upload Here"

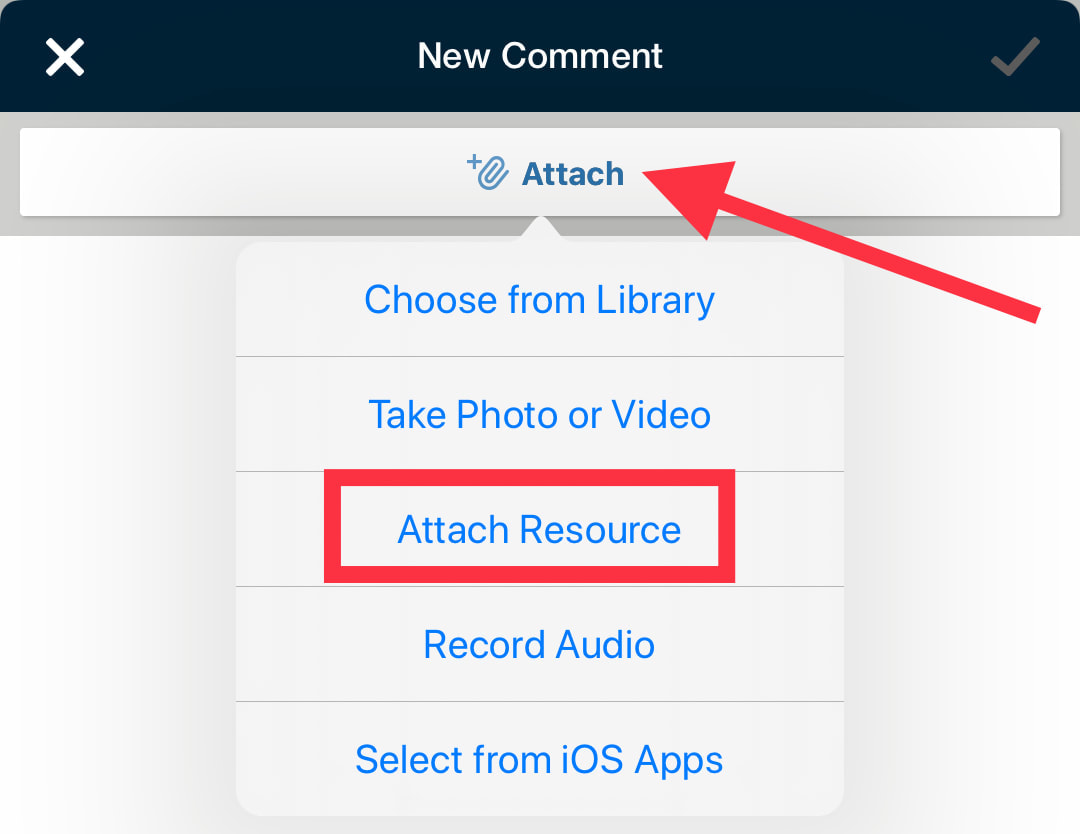
5B. Find the discussion you wish to submit to. Create a new comment, then tap "Attach--> Attach Resource." Find your file in your resources and select it.
|
Combining Books and EXPORTING BOOKS TO SCHOOLOGY
Jump to specific section of the movie below:
- 00:00- Combining Books on Book Creator
- 01:55- Reordering/ Deleting Pages
- 02:42- Uploading Final Book To Schoology
- 4:11- Open Completed Books Using iBooks
SUBMITTING TO A SCHOOLOGY DISCUSSION
Looking to Enhance your Book Creator?
Check out the tutorial below for how to take your Book Creators to the next level by clicking the image below.

Click here!
