
Creating Course Picture Using Template
1. Open the one of the following Google Templates:
2. Fill it out. Feel free to change colors, fonts, or add small images. The bolded middle section of the icon is what the students will see on their iPads, so be sure that it says our class period in that location. Only someone viewing the courses on a computer will see the full icon.

Student View on iPad
|
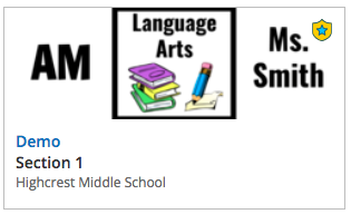
Teacher / Parent View on Computer
|
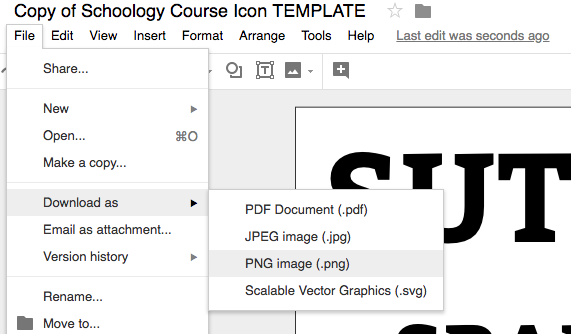
3. Download the completed course picture to your computer by clicking "File" > "Download as" > "PNG image" Note: Your image will save to your "Downloads" folder.
|
|
Changing Course Picture
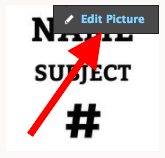
1. Open Schoology Course. Hover your mouse over the course picture in the top-left corner of the screen. Click on "Edit Picture"
2. Select "Attach File", find the image and upload it.

