


**If you are using the the updated version of Adobe Spark Video, Click below**
*************************************
Log into Adobe Spark video using an Adobe ID
Login with Google!
Starting a New Video
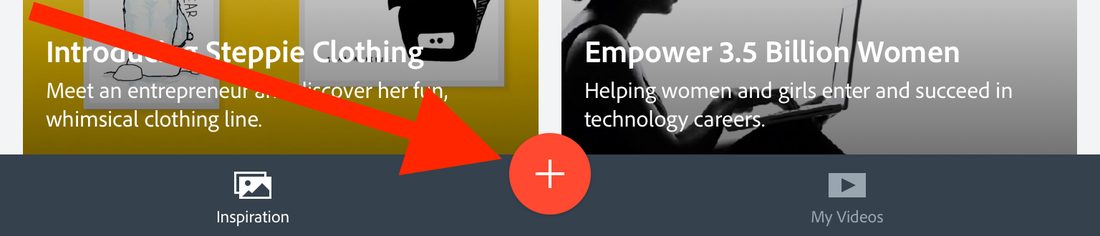
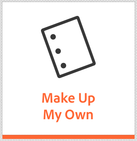
Select the red "+" icon and then select "Make up My Own." You will then be asked to create a title for your Adobe Spark Movie. You can change this later if you want.

|

|
Picking a Layout
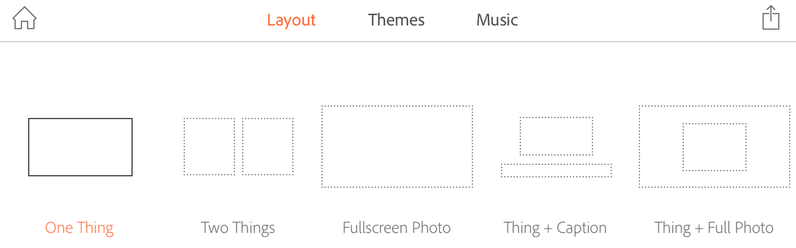
Tap the layouts tab on the top of the screen. For each one of your slides, you can choose from 5 different layouts. When the layout refers to a
"Thing" it means a picture OR text OR a symbol.
"Thing" it means a picture OR text OR a symbol.
|
Recording your voice
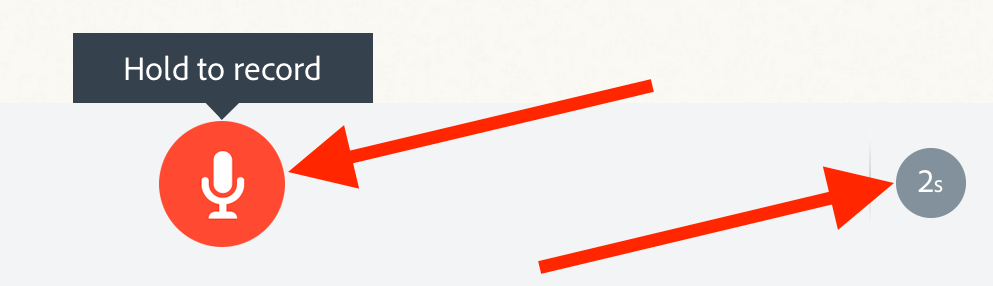
To record your voice on each slide, you need to hold down the microphone to record. If you make a mistake, you must re-record the whole slide. The timer on the right will tell you how long the audio clip is (how long the slide is will be in the final video. If you do not want any audio on that page, tap on the timer, and move the slider to the desired time.
|

|
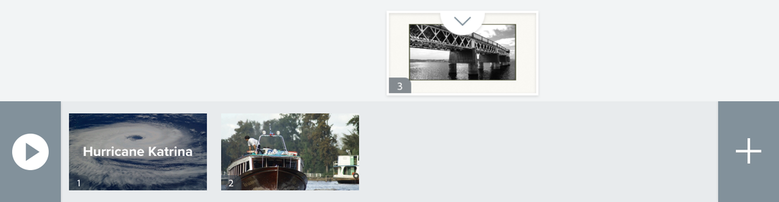
Adding / Rearranging / Deleting the Pages
Add slides by tapping the "+" on the bottom right of the screen.

|
Rearrange slides by holding down the slide and dragging it into a new order
|
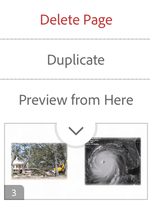
Tap on the /\ to reveal additional options including "Delete," "Duplicate," and "Preview from Here"
|
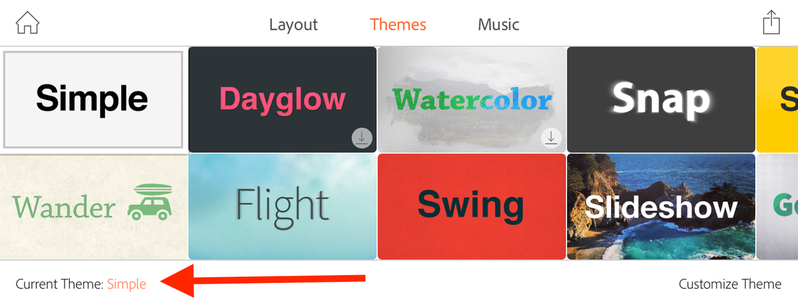
Changing the Theme
Tap on the "Themes" tab to search and select your desired theme. The theme will change for ALL of your slides. The current selected theme is shown just under the options.
|
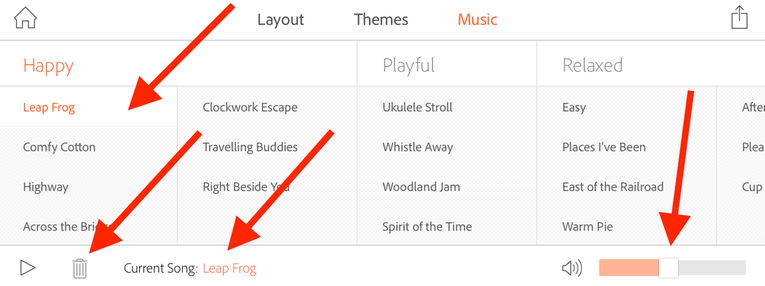
changing the music
Tap the "Music" tab to select or delete the background music. Tap on the songs to preview/select the sound. If you do not want music at all, tap the trash can icon. The current selected song is shown just under the music options. Make sure that the volume is not too loud. We want to hear your voice too!
|
Previewing your Movie
Be sure to preview your movie before you export! Tap the play button on the bottom-left corner of the screen to preview your entire movie from start to finish.

|
Exporting your Adobe voice to Photos
When you are done editing your Adobe Voice, tap the share button in the top-right corner of the screen.

|
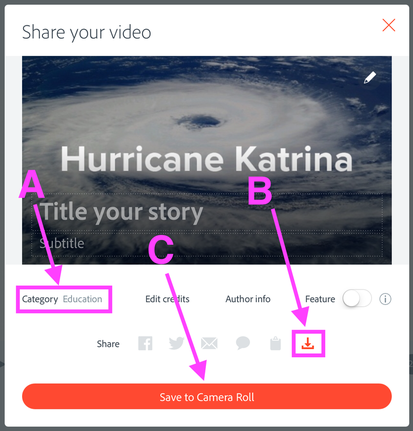
A screen similar to the one below will appear. You must follow these steps to save the video to your Camera Roll.
- A) Change the Category to "Education"
- B) Select the "Download" icon
- C) Tap "Save to Camera Roll"
|
IMporting your Adobe Spark Video into a Google Slide
You must export your video to your camera roll before you can complete these steps. See section above.
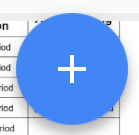
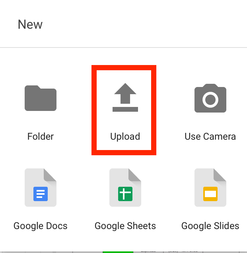
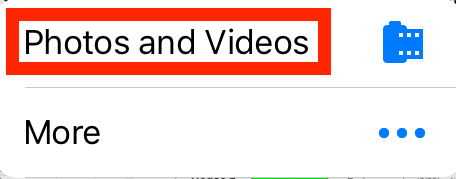
1. Open Google Drive and tap on the blue "+" on the bottom-right corner of the screen. Select "Upload". Select "Photos and Videos"
|
|
|
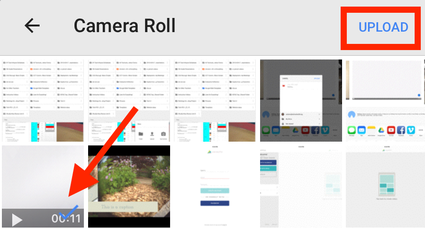
2. Find your Adobe Spark Video from your camera roll. Tap on the video to select it and then tap "UPLOAD".
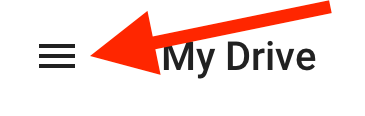
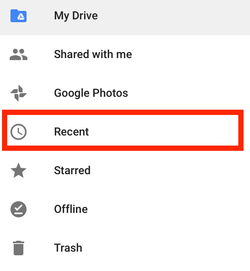
3. Find your video by taping on the menu icon in the top-left corner, then tap "Recent."
|
|
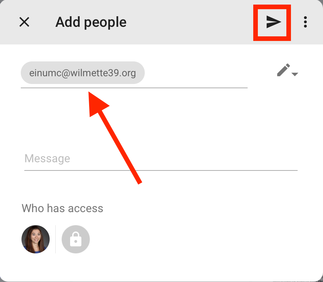
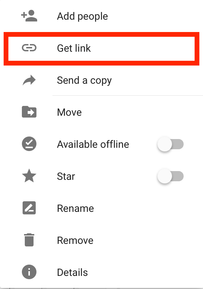
4. Your video should appear on the top of the screen. Tap the 3 dots on your video, then select "Add people." Type your teacher's email in the box, then tap the arrow."

|
|
5. Tap on the 3 dots again and select "Get Link." This will copy the link to the clipboard.
6. Open up your Google Slides presentation.
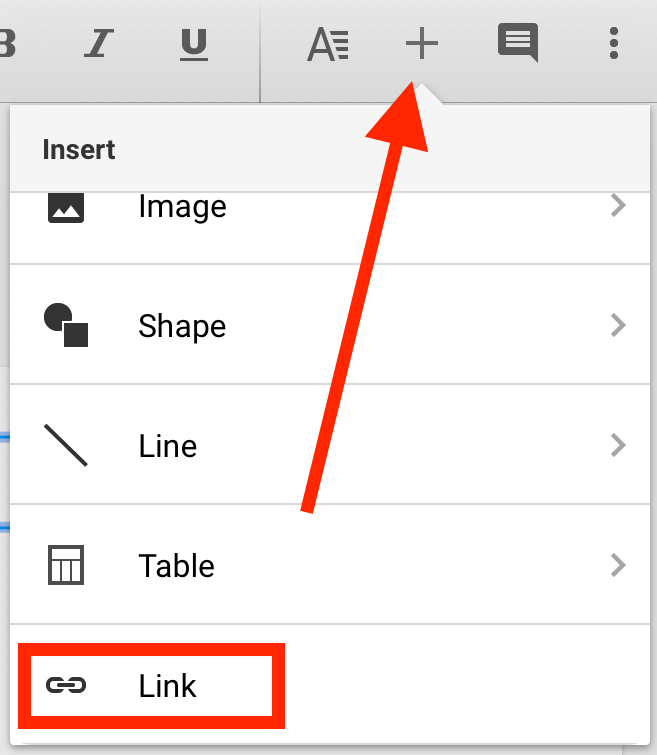
7. Long press in the text box where you would like your link to appear. Tap on the "+" and scroll down and select the "Link" option. Enter the text you want to see and paste the link in to the box. Then hit the checkmark.
7. Long press in the text box where you would like your link to appear. Tap on the "+" and scroll down and select the "Link" option. Enter the text you want to see and paste the link in to the box. Then hit the checkmark.
|

|

|
