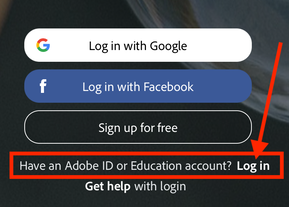
Log into Adobe Spark video using an Adobe ID
1. Click on the "Log in" for our Education Account.
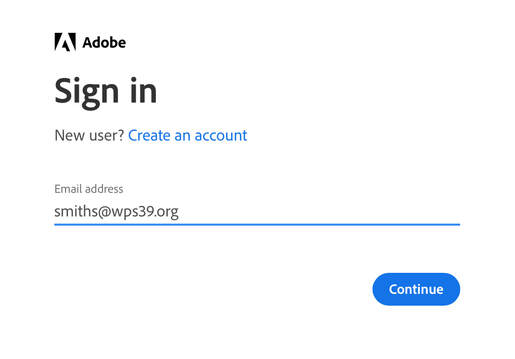
2. Type in your full wps39.org email.
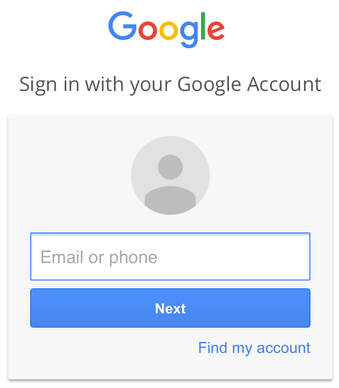
3. A Google window will open. Type in your email and password to log in.
Starting a New Video
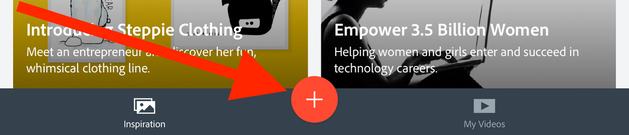
Select the red "+" icon to start a new video.
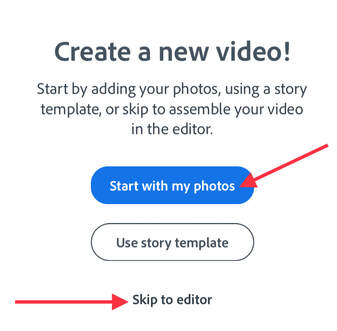
Tap on "Start with my photos" if you have some photos ready to go, or "Skip to editor."
Picking a Layout
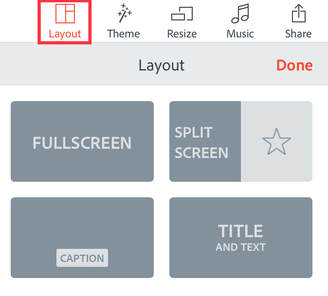
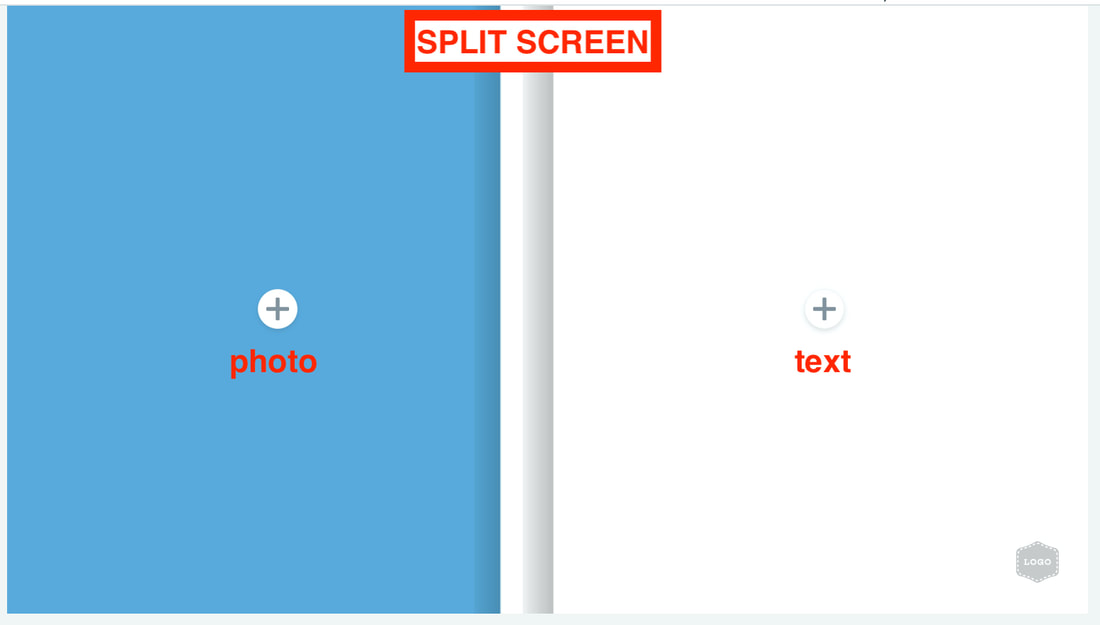
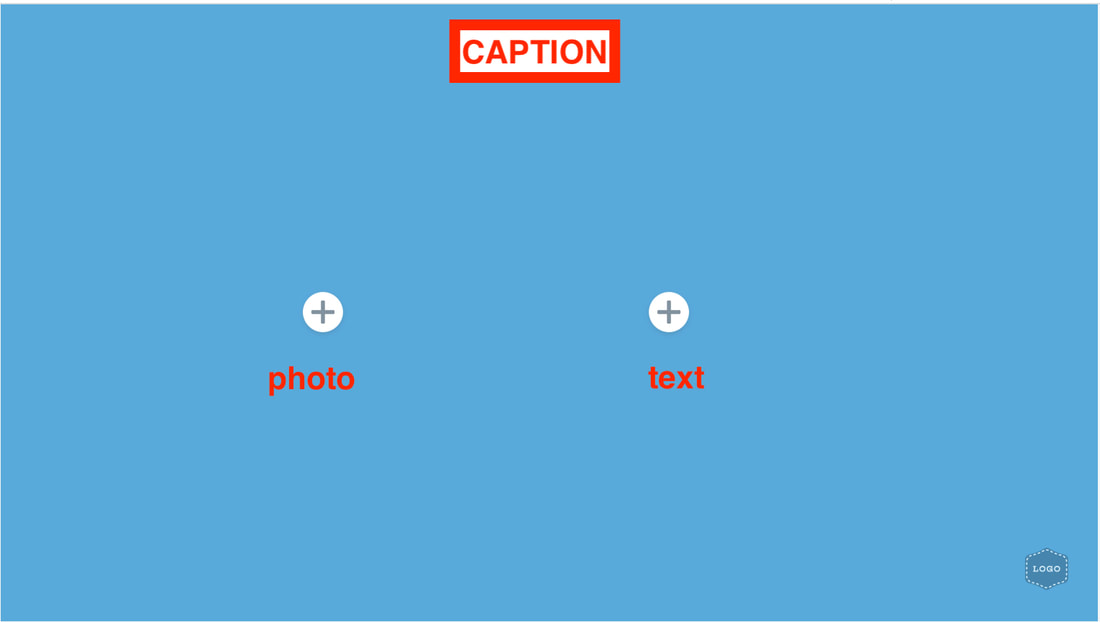
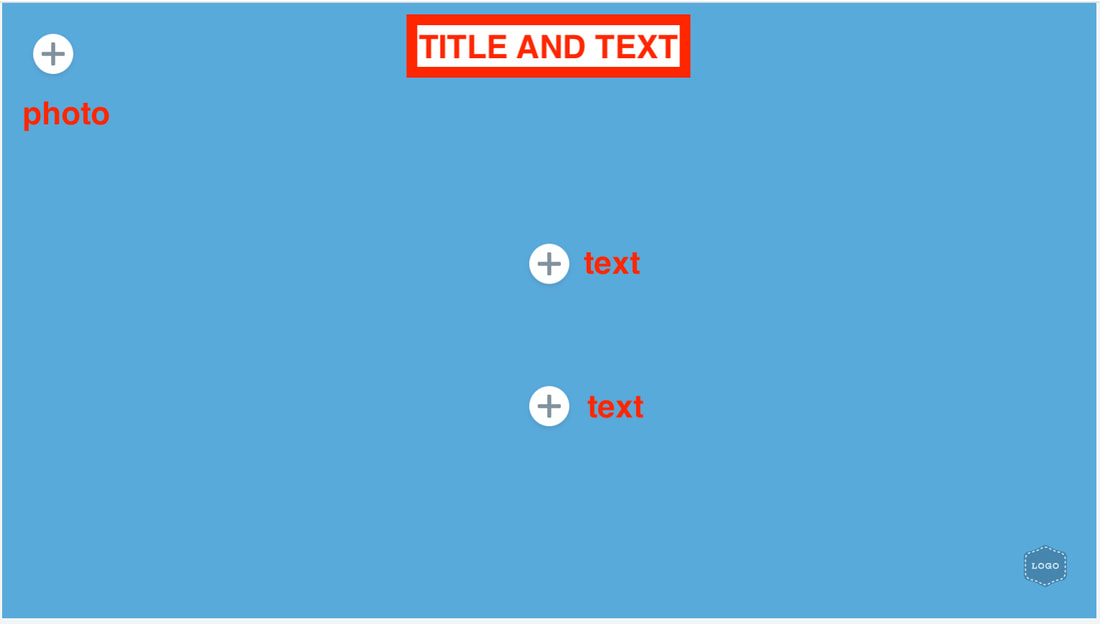
Tap on a slide to make edits to it. The layouts tab is on the top of the screen. For each one of your slides, you can choose from 4 different layouts: Fullscreen, Split Screen, Caption, and Title and Text.
Adding Text and Images
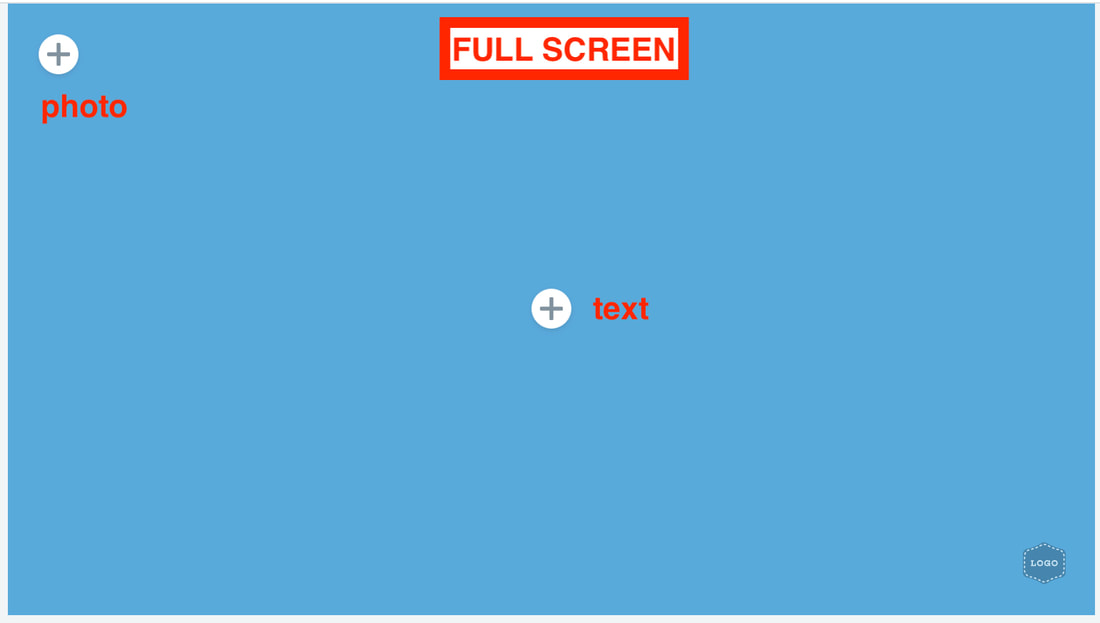
Based on the layout chosen above, you tap on one of the plus signs to add either an image OR text.
|
|
|
|
If you select the photo option, you can add a photo or video. To add a photo, tap on the "Photos" tab then tap "My Photos." Be sure to allow access to your camera roll. Then select the picture you wish to use.

Recording your voice
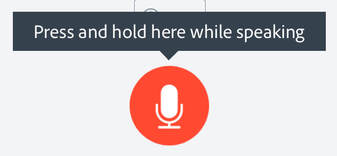
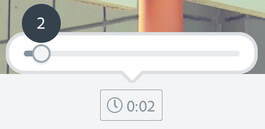
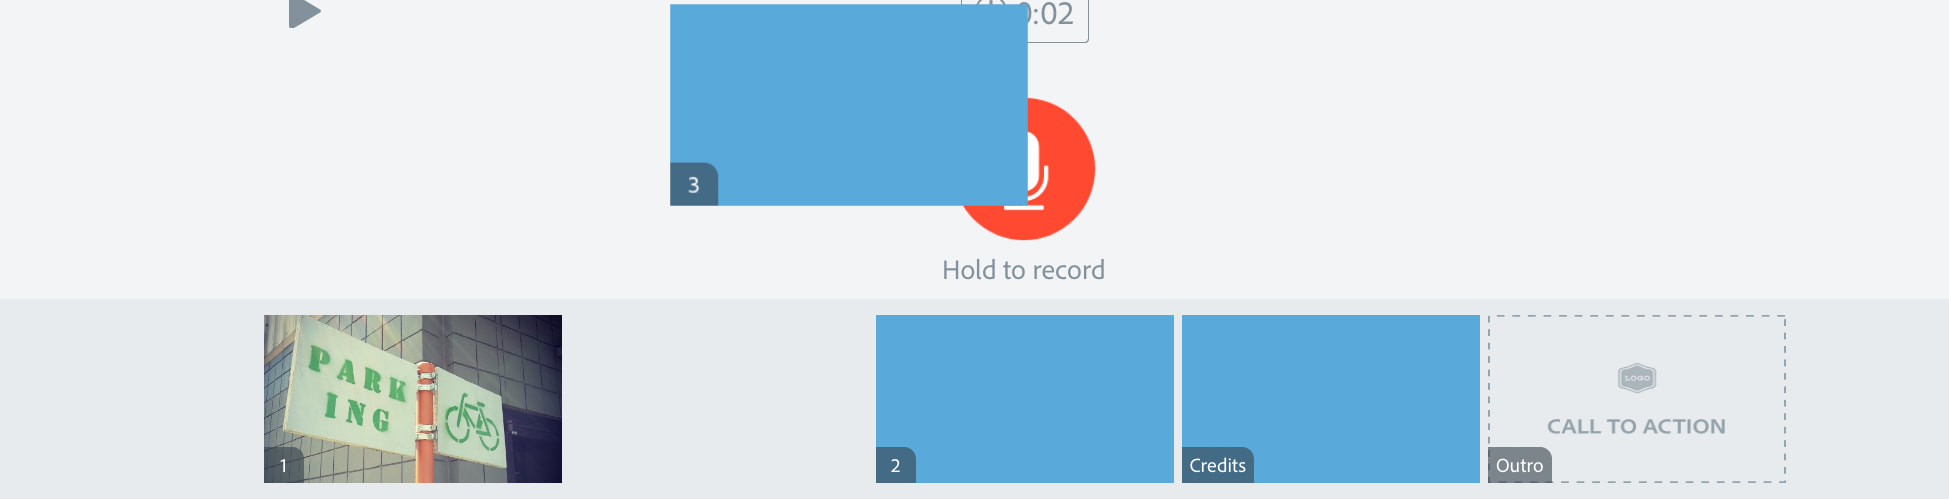
To record your voice on each slide, you need to hold down the microphone to record. If you make a mistake, you must re-record the whole slide. The timer on the right will tell you how long the audio clip is (how long the slide is will be in the final video. If you do not want any audio on that page, tap on the timer, and move the slider to the desired time.
|
|
Adding / Rearranging / Deleting the Pages
Add slides by tapping the "+" on the bottom right of the screen.

Rearrange slides by holding down the slide and dragging it into a new order.
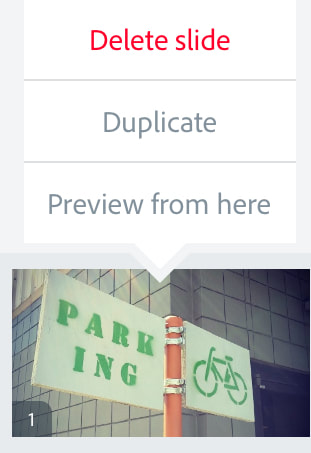
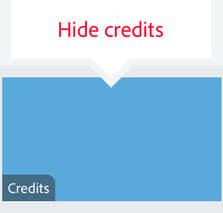
Tap on the slide to reveal additional options including "Delete," "Duplicate," and "Preview from Here". Note: You cannot remove the "Outro", but you can hide the "Credits"
|
|
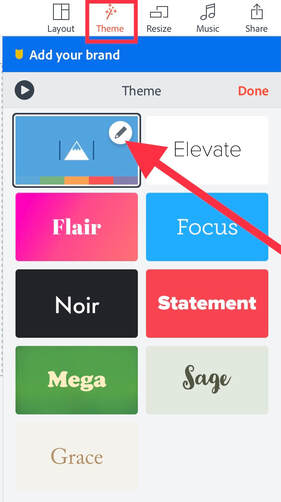
Changing the Theme
Tap on the "Themes" tab to search and select your desired theme. You can further edit the color of the theme by tapping on the pencil after selecting your chosen theme.
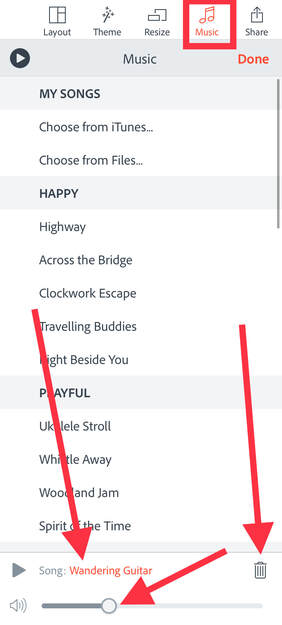
changing the music
Tap the "Music" tab to select or delete the background music. Tap on the songs to preview/select the sound. If you do not want music at all, tap the trash can icon. The current selected song is shown just under the music options. Make sure that the volume is not too loud. We want to hear your voice too!
You can now import your OWN music that you create on Garage Band. Import this music by tapping on "Choose from Files." Note: the Garage Band file must be exported as an mp4 and saved to your iPad prior to using this option.
You can now import your OWN music that you create on Garage Band. Import this music by tapping on "Choose from Files." Note: the Garage Band file must be exported as an mp4 and saved to your iPad prior to using this option.
Previewing your Movie
Be sure to preview your movie before you export! Tap the play button on the bottom-left corner of the screen to preview your entire movie from start to finish.

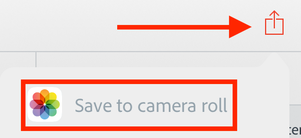
Exporting your Adobe voice to Photos
When you are done editing your Adobe Voice, tap the share button in the top-right corner of the screen and choose, "Save to camera roll".